0.3. Creating a WPILib Project
To create a WPILib project, follow these steps:
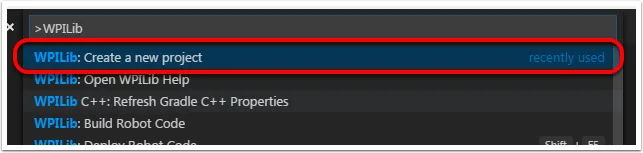
Step 1: Open the Command Palette
Press Ctrl+Shift+P (or Command+Shift+P on macOS) to open the Visual Studio Code command palette. Type “WPILib” into the prompt. This will display a list of WPILib-specific commands. Select the Create a new project command.
Step 2: Use the New Project Creator
The New Project Creator window will appear:
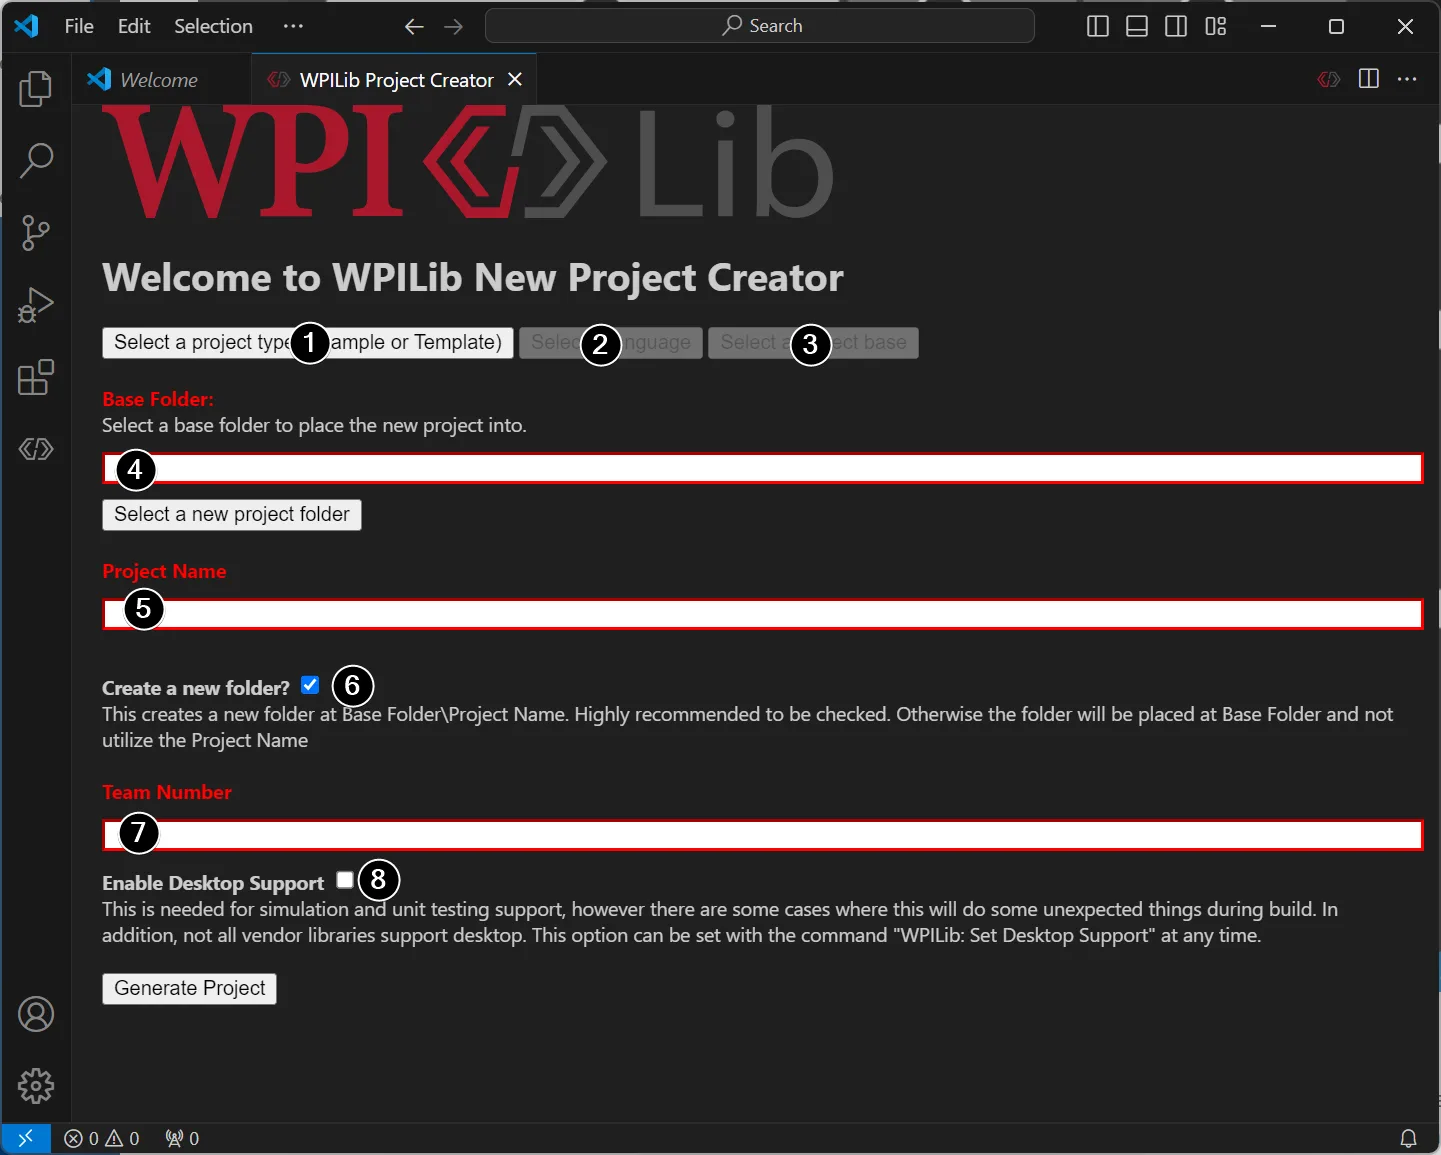
Elements of the New Project Creator
- Project Type: Choose the type of project to create.
- Language: Select the programming language for the project (C++ or Java).
- Project Base: Select the base class or example to generate the project from.
- Base Folder: Specify the folder where the robot project will be located.
- Project Name: Enter the name of the robot project. If the Create a New Folder option is checked, this name will also be used for the project folder.
- Create a New Folder: Check this box to create a new folder for the project within the specified base folder. If unchecked, the project will be placed directly in the base folder. Note: An error will occur if the folder is not empty and this option is unchecked.
- Team Number: Enter your team number. This will be used for package names within the project and to locate the robot during code deployment.
- Enable Desktop Support: Check this box to enable unit testing and simulation. Note that while WPILib supports this, third-party libraries may not. Leave this unchecked unless you need unit testing or simulation and all libraries support it.
Once all fields are configured, click Generate Project to create the robot project.
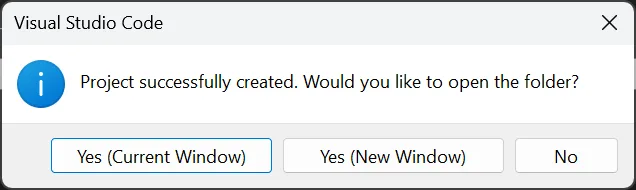
Step 3: Open the Project
After the project is created, Visual Studio Code will prompt you to open the project:
You can open the project immediately or later by pressing Ctrl+K followed by Ctrl+O (or Command+O on macOS) and selecting the folder where the project was saved.
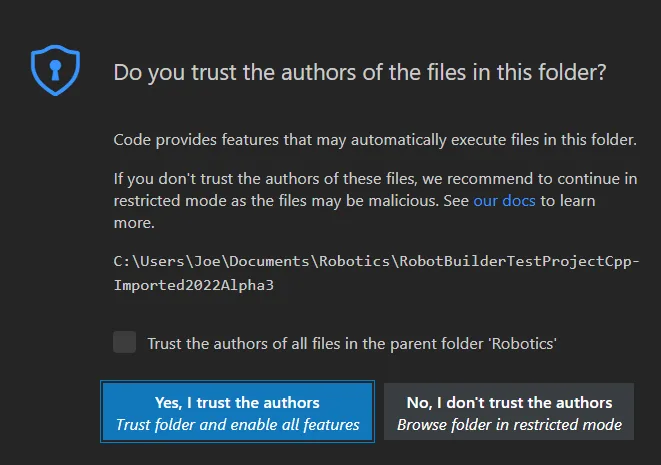
Click Yes, I trust the authors when prompted.
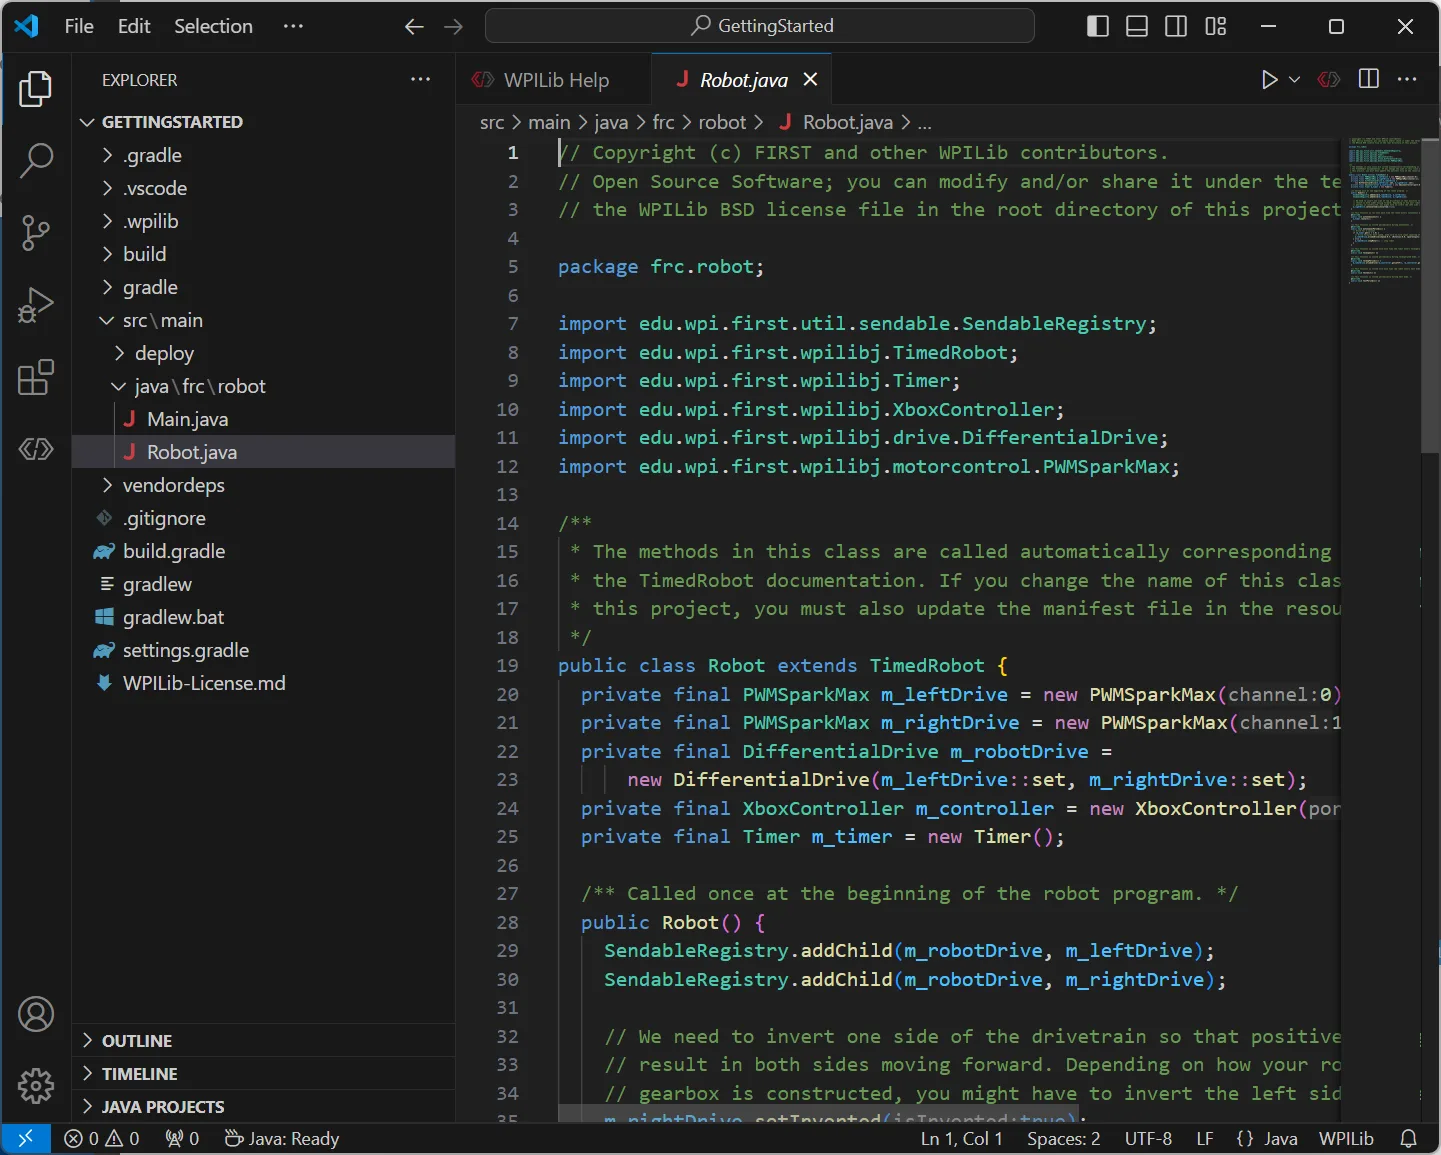
Step 4: Explore the Project
Once the project is opened, the project hierarchy will appear in the Explorer pane on the left. Double-click any file to open it in the editor.